 Daniel
 deutsche Version anzeigen
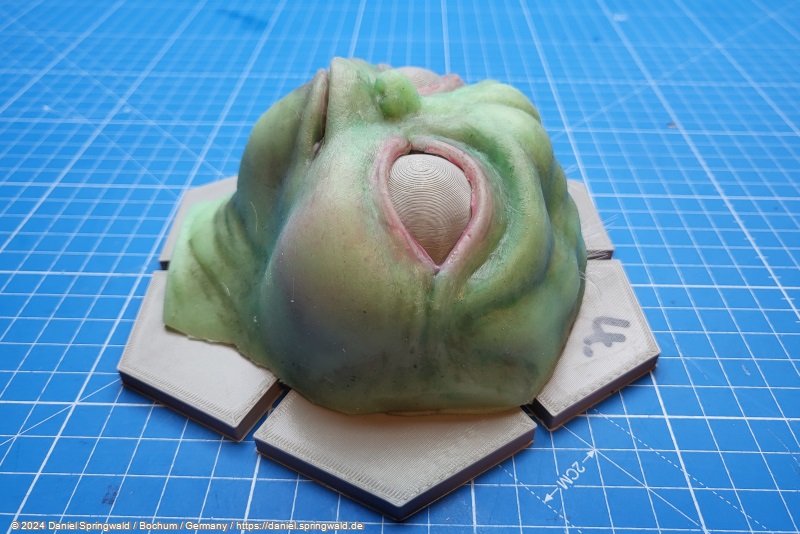
Animatronic Grogu 2.0
🔸 To the other parts of "Animatronic Grogu 2.0"
Two-piece mould
While I only used a single silicone mold in the first attempts to shape Grogu's face, this time I decided to use a two-piece mold. This makes it possible to control the thickness of the skin very precisely. This was difficult to do with the previous panning of the shape and gave very uneven results.
Moldings
In order to make the head shape of Grogu as authentic as possible, I bought a pretty faithful 3D model of Grogu.
The mold consists of two parts that I printed from a 3D model of Grogu. The first shape is the outer part of the face, the second part is the inside. Both parts are designed to fit exactly into each other and the gap between the two determines the later thickness of the silicone skin.
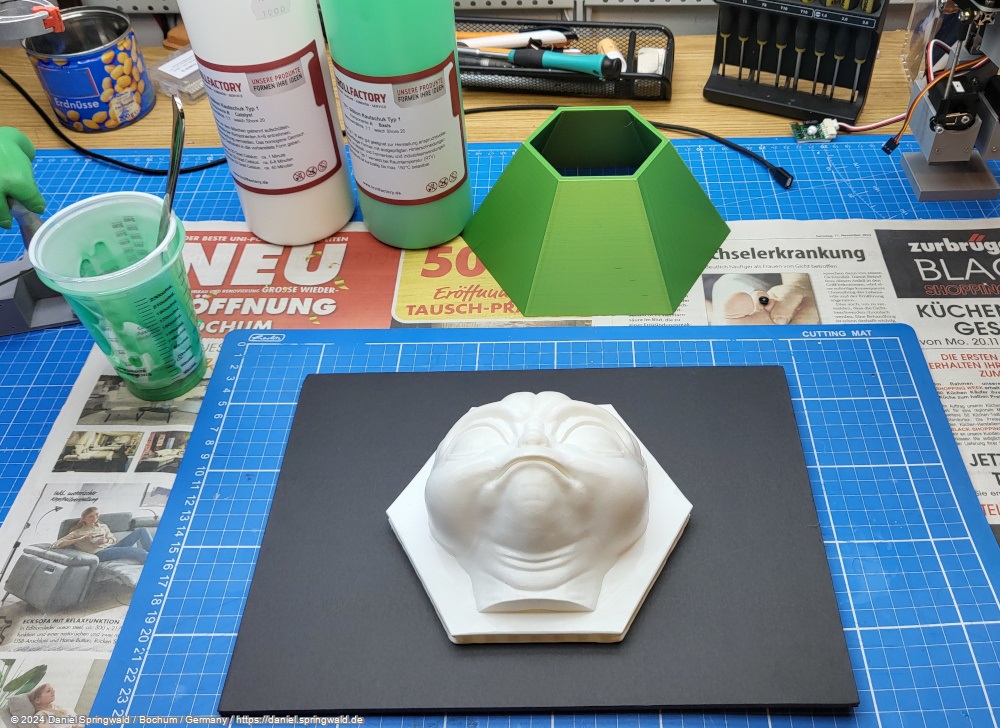
The external shape as 3D printing:
In the CAD program, you then design a suitable wall for the casting mold:
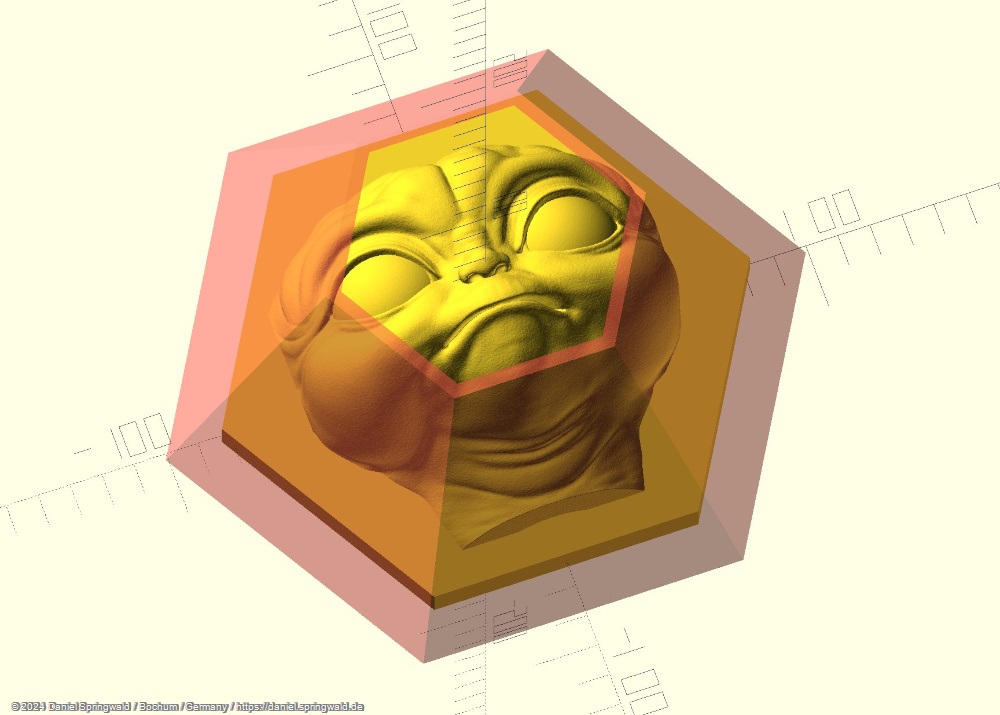
Hexagonal plates at the bottom of the moulds ensure that both parts can be positioned in exactly the right position in relation to each other.
The inner shape roughly corresponds to the outer one, but is slightly smaller and has a smooth surface.
Simplifying the inner shape for 3D printing:
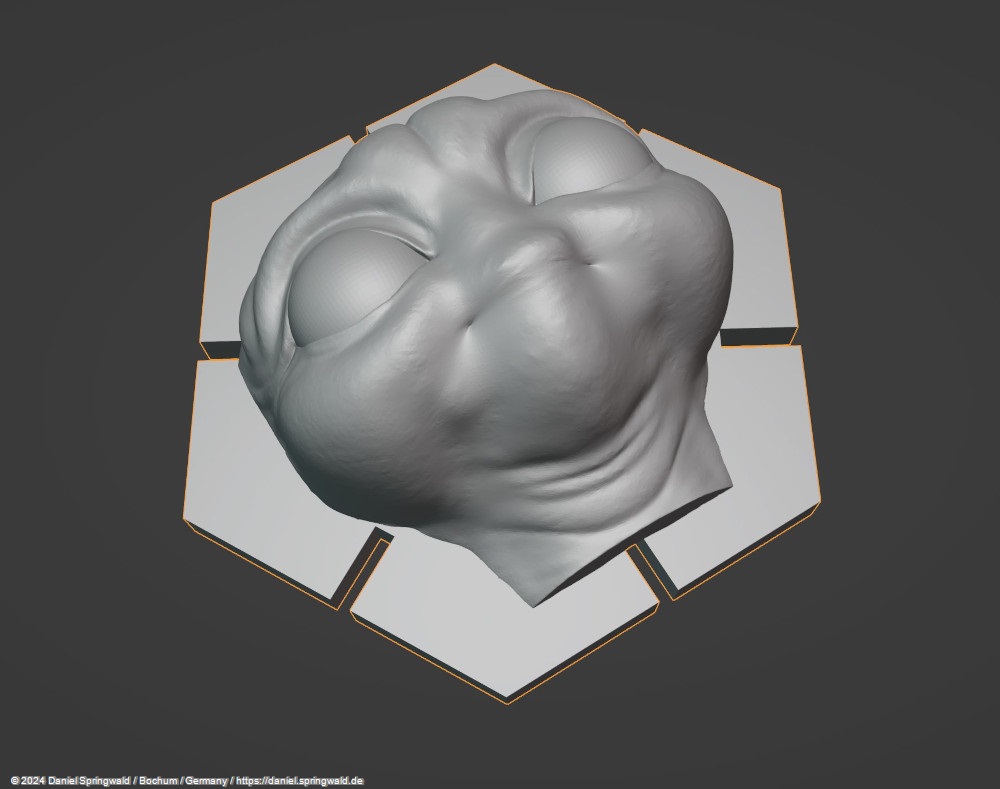
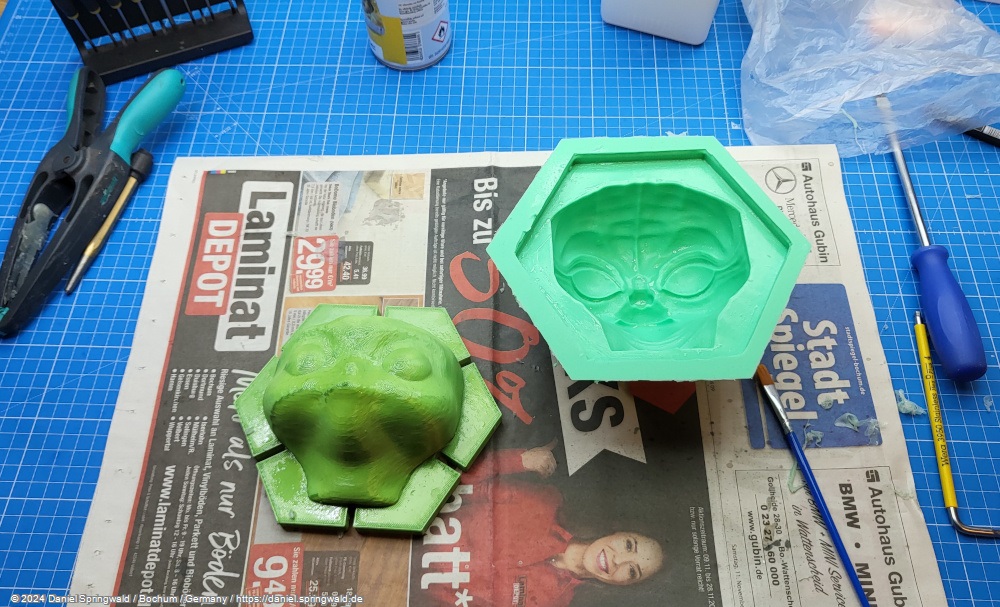
The inner form next to the outer negative form:
Expiration
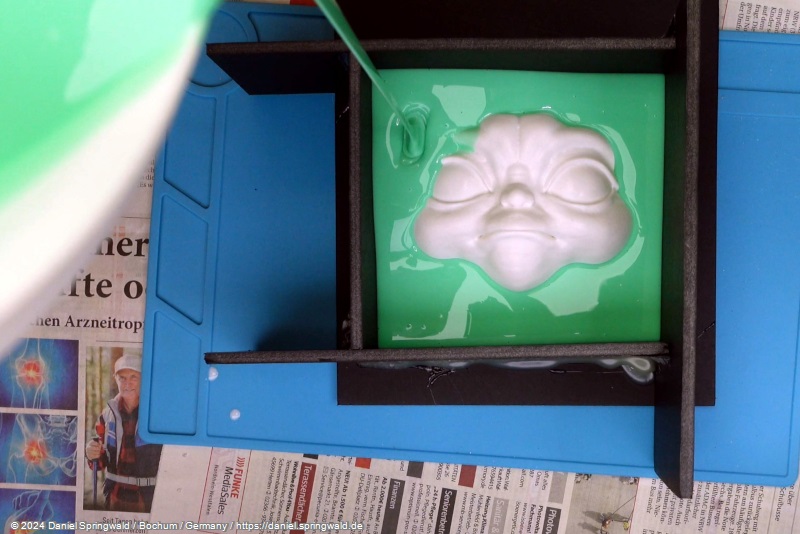
First, a negative mold is cast from the exterior of the face with impression silicone.
The whole thing in "real life":

Now mix the silicone and dye it:

After the silicone has cross-linked (=hardened), highly elastic silicone is filled, which has previously been dyed with pigment dyes to the desired skin color. Now the inner mold is carefully inserted and displaces the liquid silicone in such a way that it is only in the cavity between the two molded parts. To ensure that everything can be removed well later, both moulded parts should be treated with release agent beforehand.
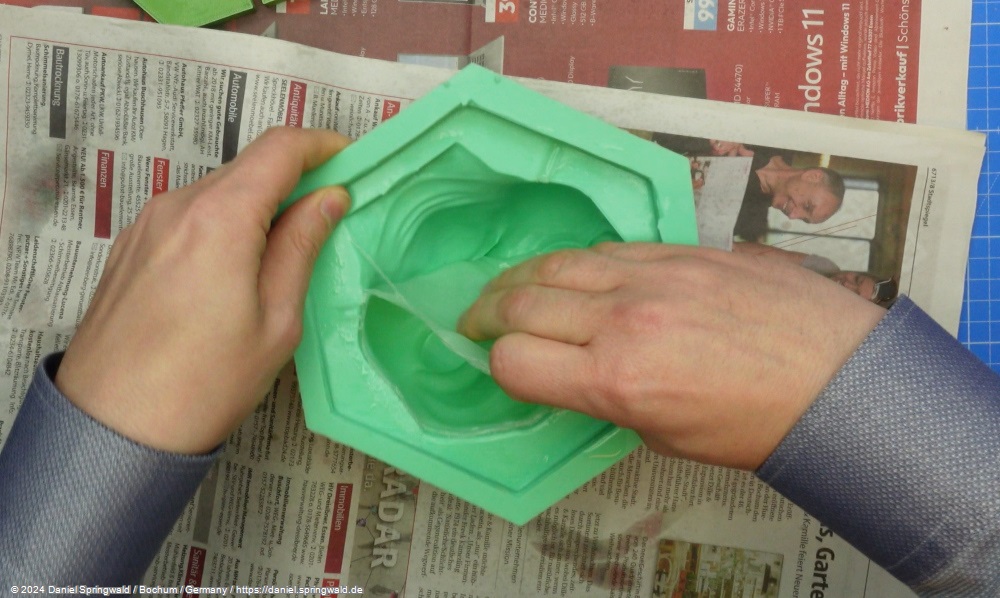
After the skin silicone has hardened, you can carefully separate the molded parts and remove the silicone face:
Readjustment
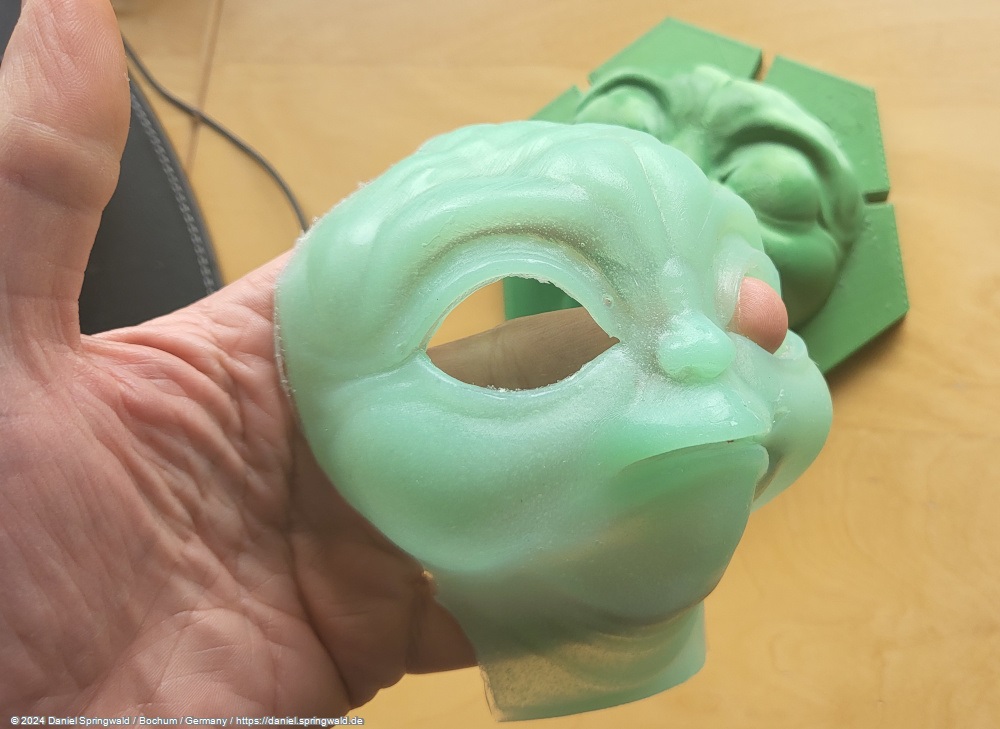
The result is a very detailed silicone face that feels very soft and realistic. The thickness of the skin didn't quite turn out the way I imagined it when I first tried it. However, this can be easily corrected: Where the skin is too thin, the 3D model of the inner shape must simply be made a little smaller, and if the skin is too thick, correspondingly larger.
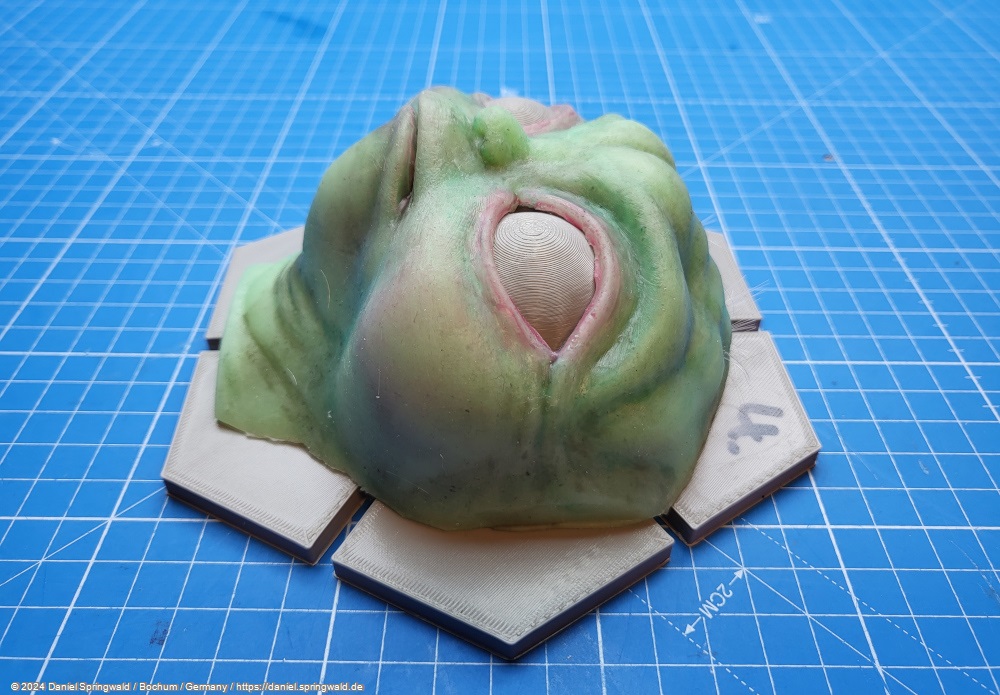
After four iterations, I achieved the desired result:
The skin thickness is uniform and exactly the thickness I imagined. Only the coloration of the silicone is still too transparent - but this can be easily corrected with more pigment colors at the next casting.
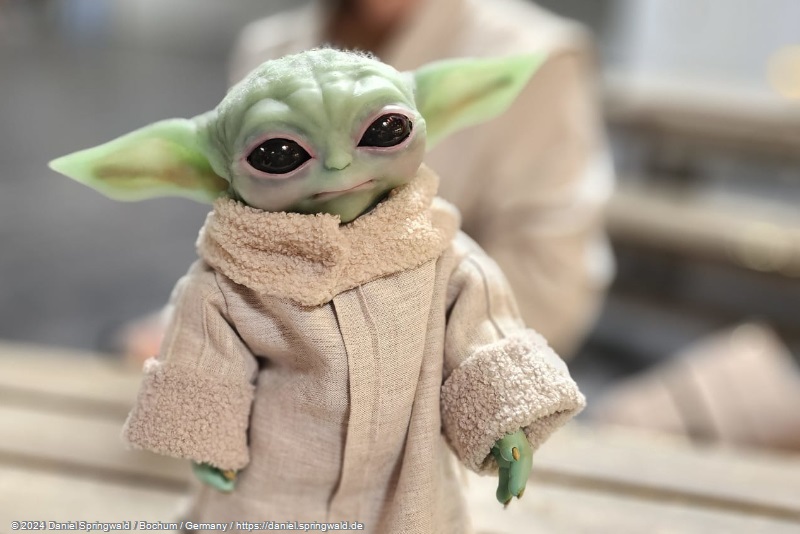
Result
After cleaning the skin with alcohol and removing mould lines, the silicone can still be painted and matted.
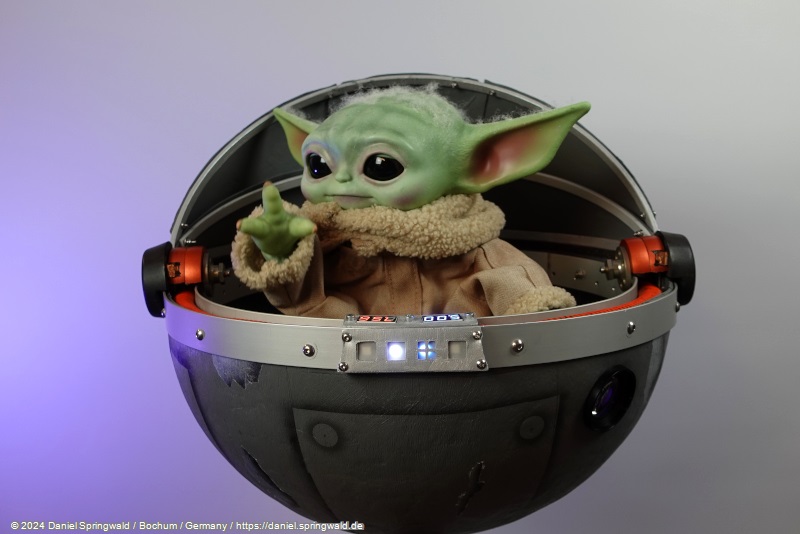
I am satisfied with the result of this manufacturing process and was able to use the skin as the basis for my animatronic Grogu.
Painted, the whole thing looks like this:
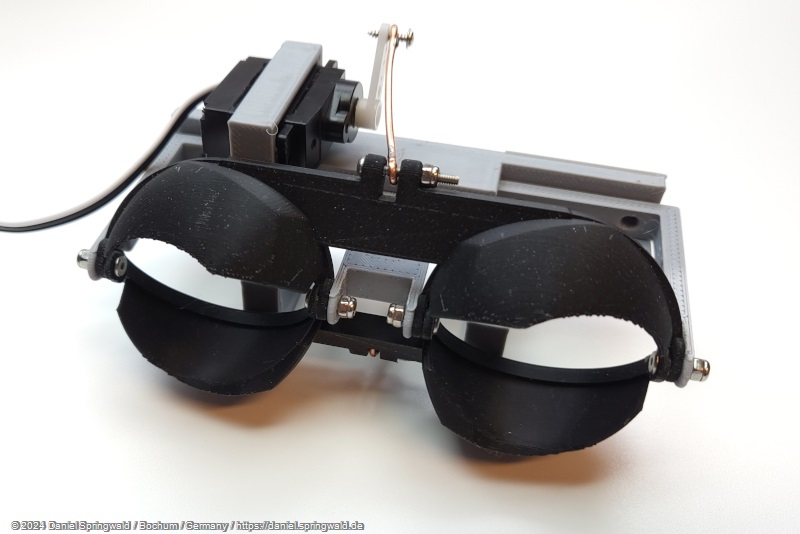
All parts of the head at a glance (they are each stuck on their inner shape):