 Daniel
 deutsche Version anzeigen
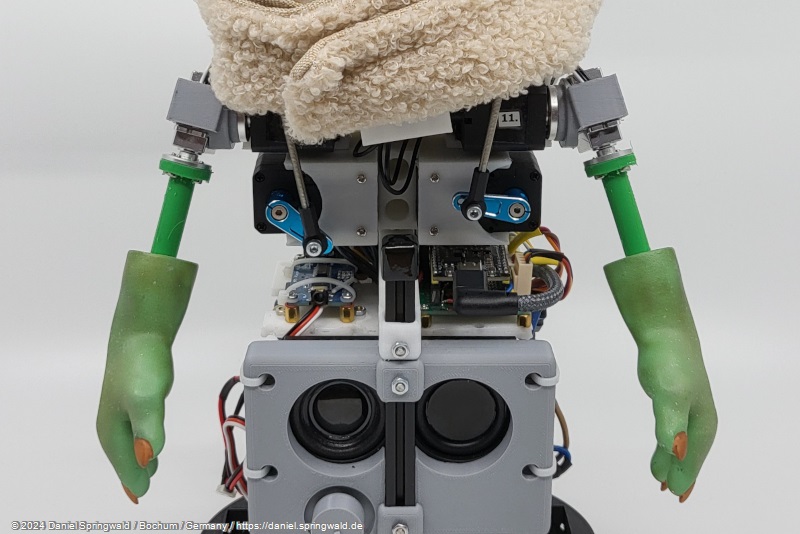
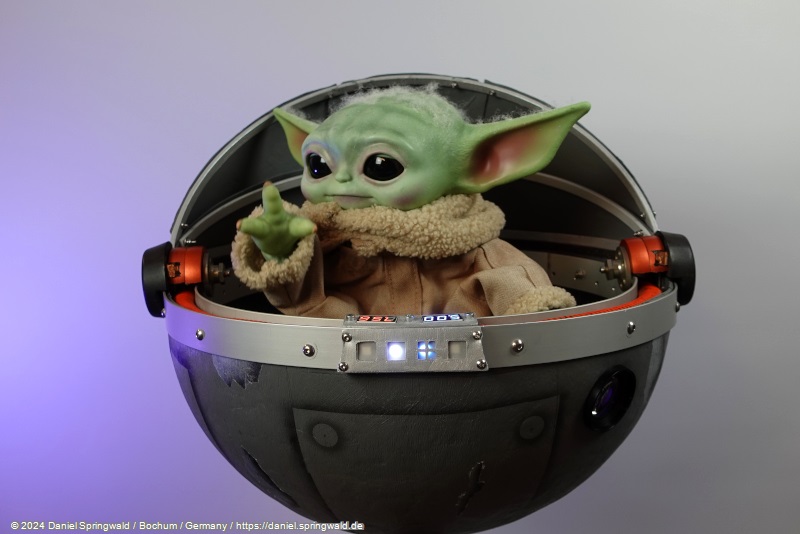
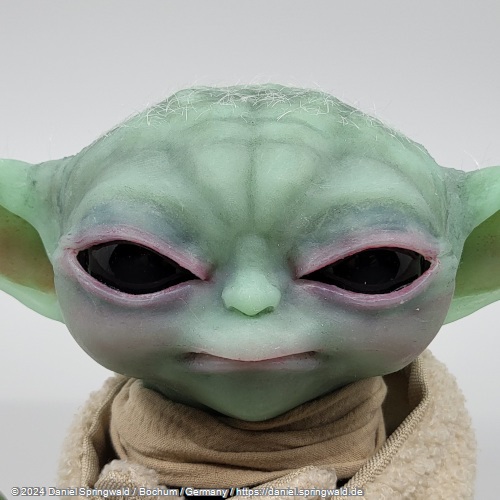
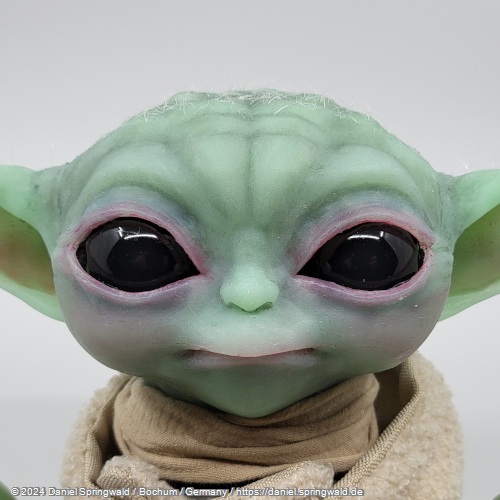
Animatronic Grogu 2.0
🔸 To the other parts of "Animatronic Grogu 2.0"
Serial Bus Servos
Instead of normal servos from model making, which are controlled via PWM, I use digital servos in this project, which are controlled via a serial bus. This has the advantage that you can connect several servos to a single bus without having to run a lot of cables. The servos can then be controlled via a single line instead of star-shaped wiring. This saves space and cable clutter.
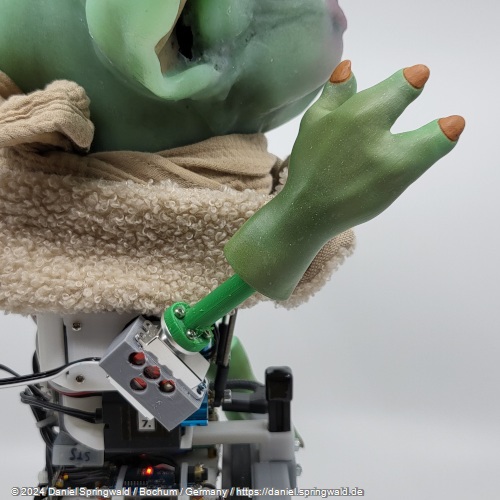
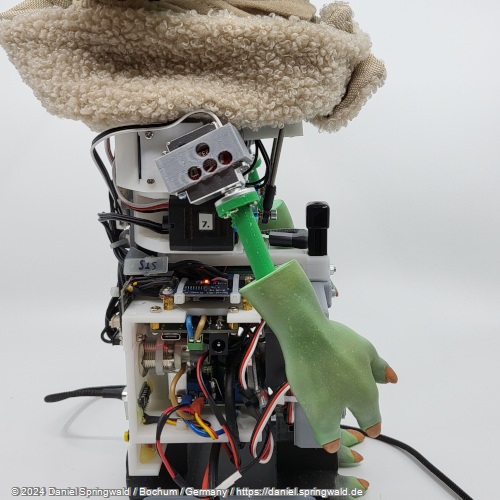
Two different designs of such bus servos are installed in the animatronic Grogu: small models for the eyes, ears and forearms and larger models for the head movements and arms.
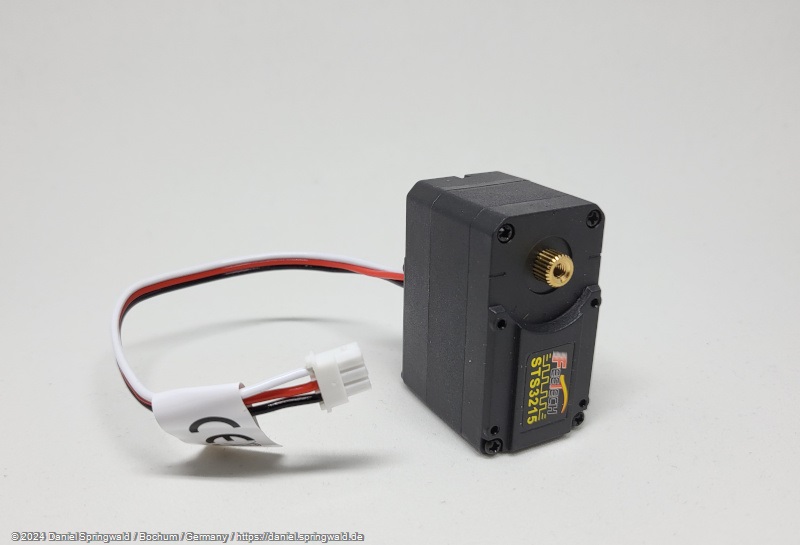
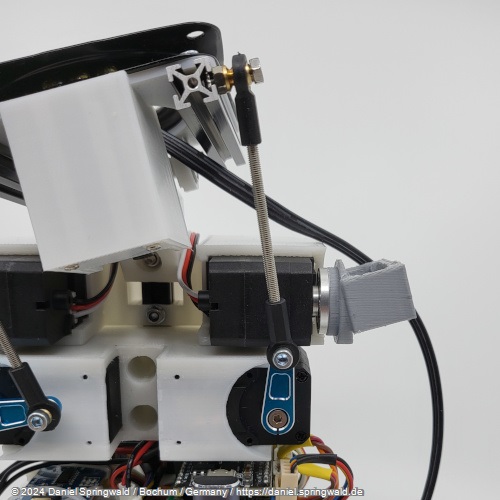
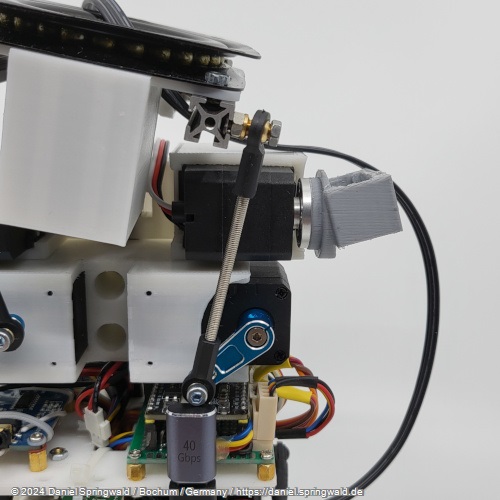
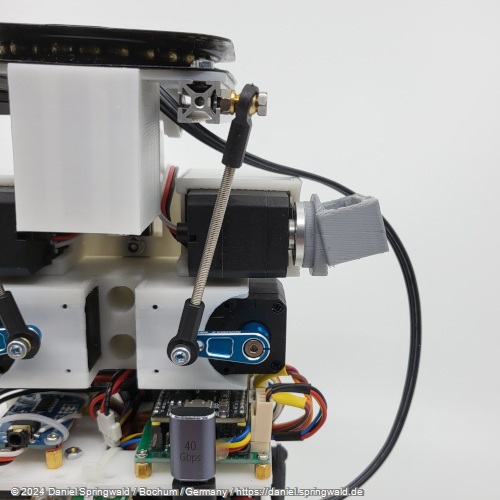
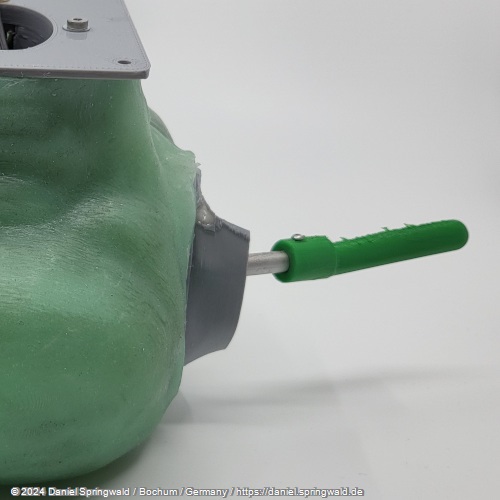
The larger servos have a design that is mostly used for the arms or legs of small (humanoid) robots. They are usually installed there directly as knee or elbow joints. Here I use the model STS3215 Metal Digital BUS Robotics 360 Servo 55g 19.5kg 6V-7.4V from Feetech.
STS3215-Servo
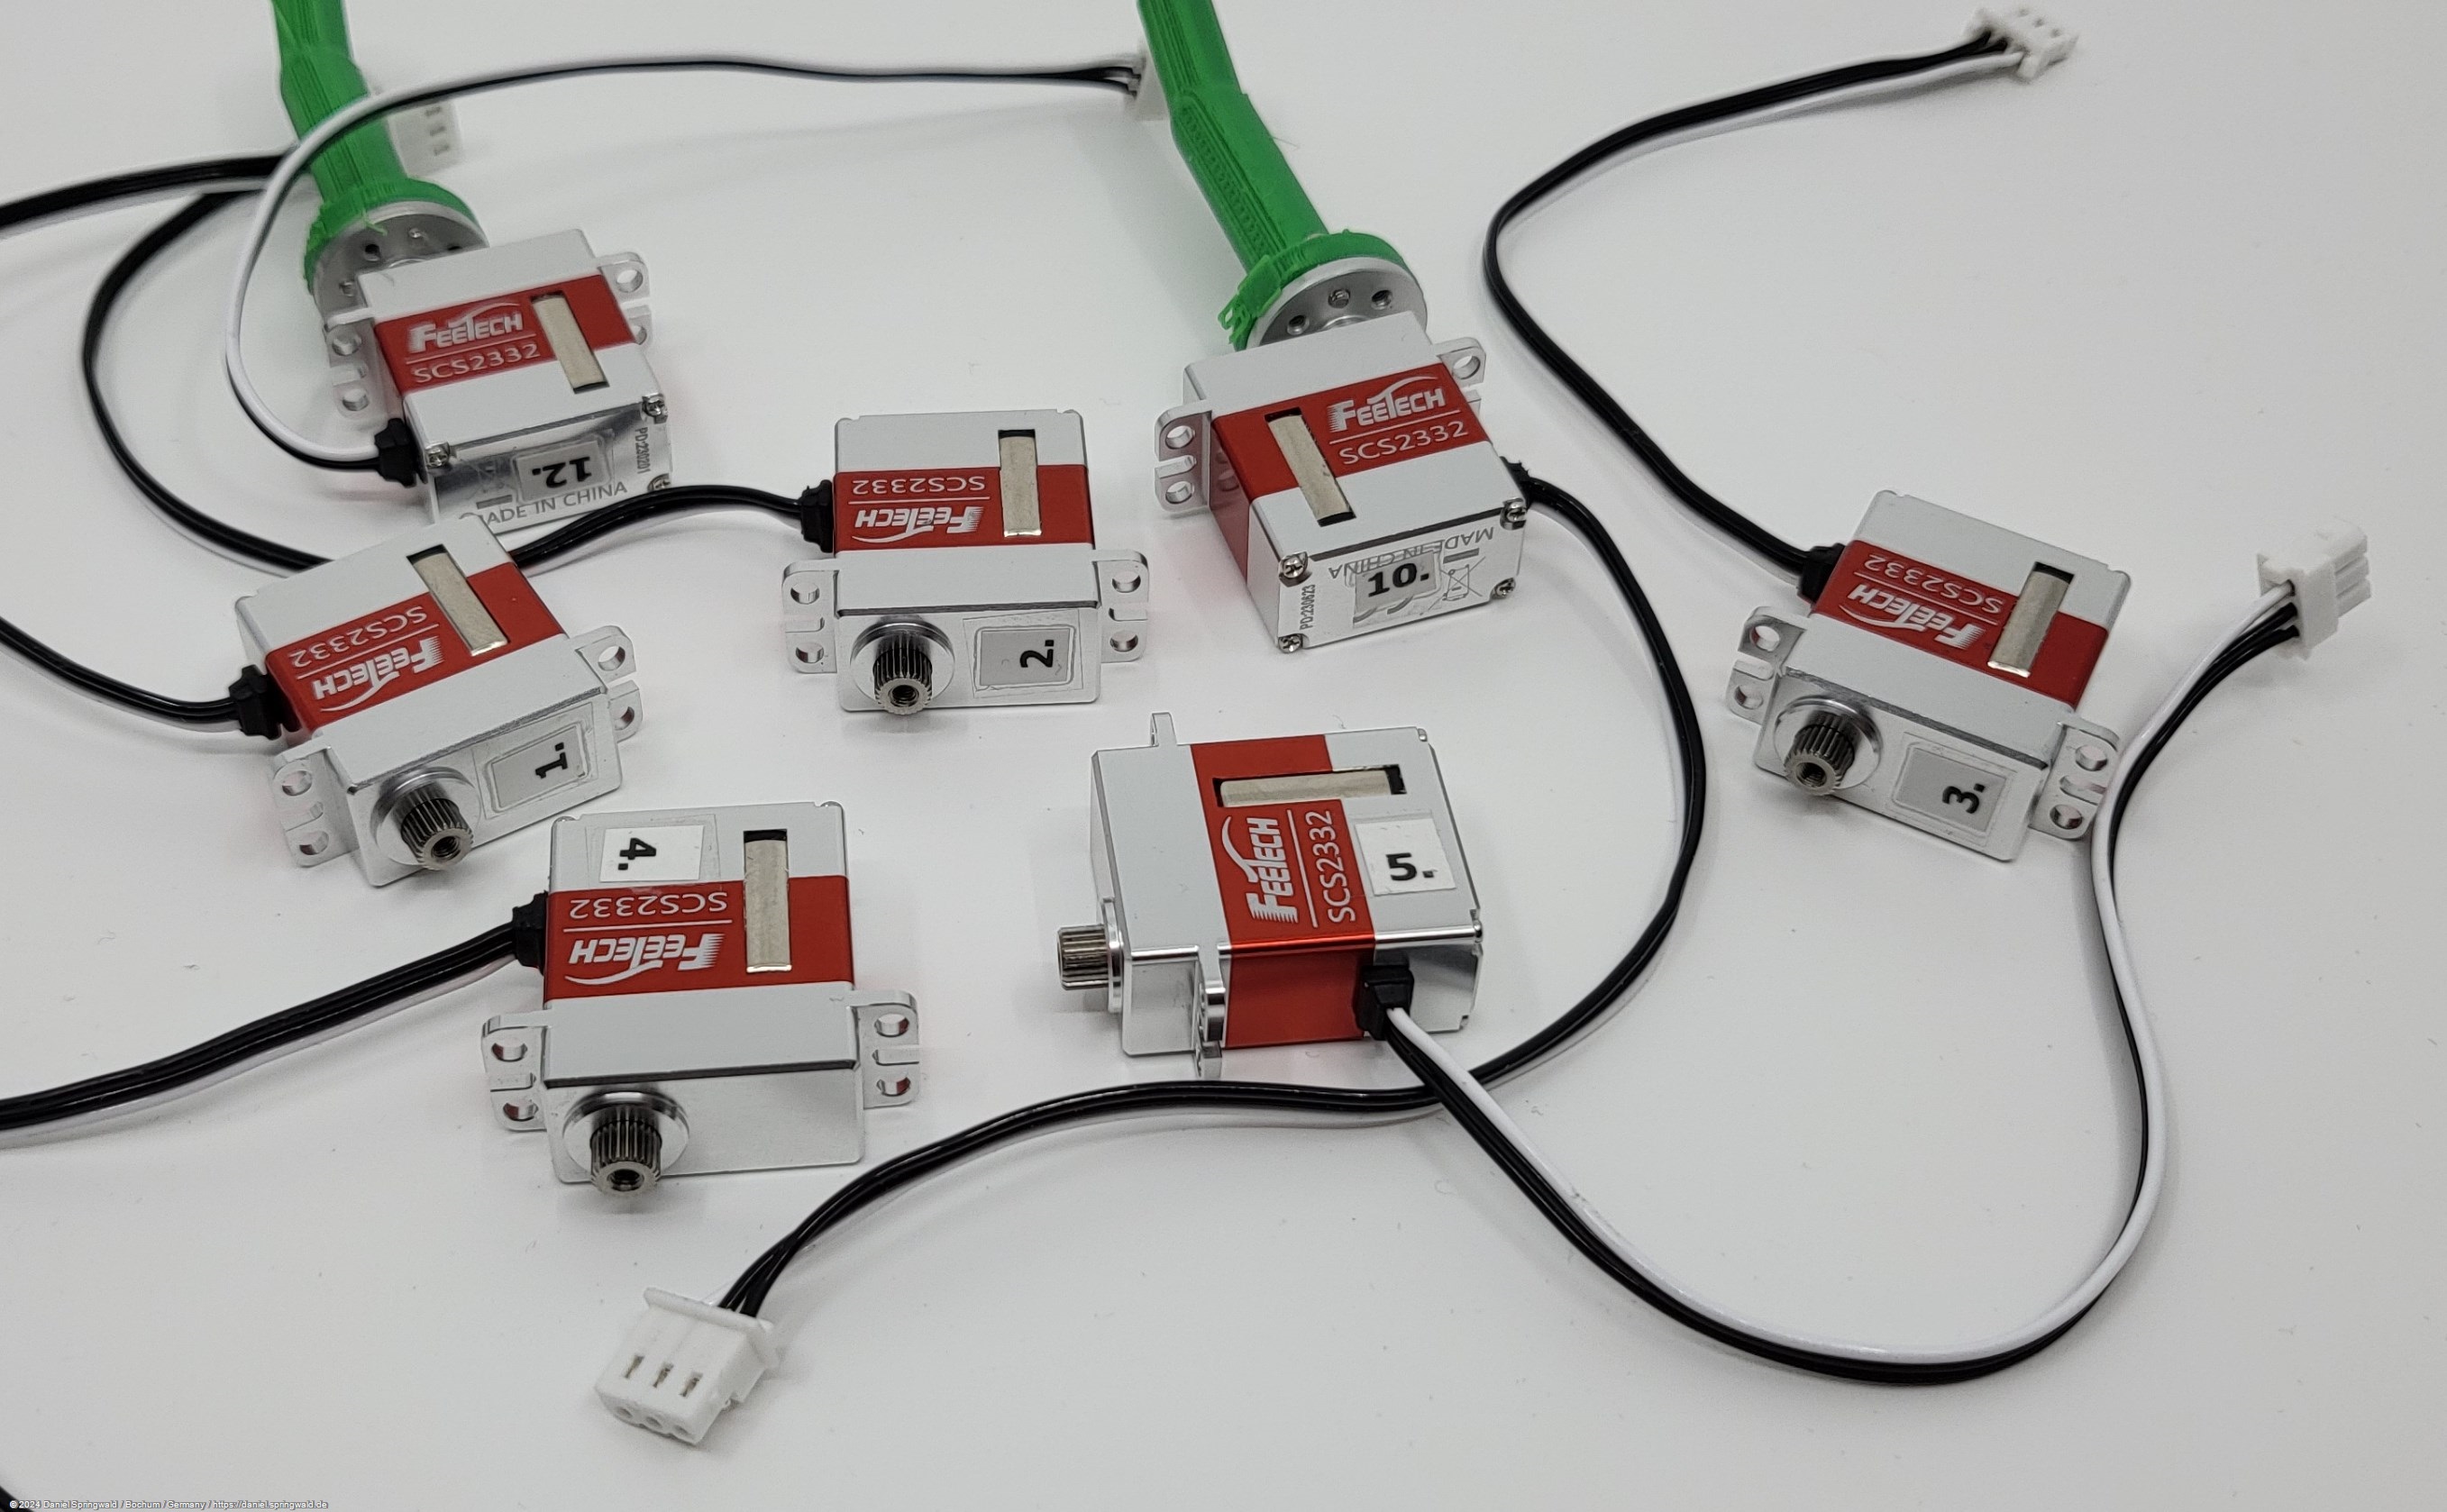
The small servos are SCS2332 Metal Digital BUS Robotics Servo 20g 4,5kg 4,8V-6V from the company Feetech and have the well-known design of the SG90 or MG90S servos.
SCS2332 Servos
You can already see from the specifications that both servo types only have exactly one voltage with which they can be operated - if you only want to use one voltage source for the servos. Therefore, the voltage of the servos on the Grogu is set at 6 volts.
Servo Controller
The bus servos cannot easily be controlled directly from a microcontroller. As a corresponding interface I use the Serial Bus Servo Driver Board from WaveShare. It connects to the ESP32 via a serial UART interface. Since it is recommended not to operate STS and SCS servos via the same bus, I installed two of these boards.
BTW: This means that the ESP32 with the hardware-side UART interfaces is starting to run out: One requires the Animatronic Workbench to control the figure live via USB cable. The other is required for the MP3 player board, which is also controlled via a UART interface. Together with the two servo controllers, four UART interfaces would be necessary - but the ESP32 only has three. Therefore, I moved the MP3 player board to the software UART interface, as it is only operated with 9600 baud and is therefore not so time-sensitive.
Servo IDs
The servos are addressed by their IDs and are counted as follows: (As with the doctor, left/right is always to be understood from the point of view of the "patient")
| ID | Servo | Type |
|---|---|---|
| 1 | Eyelids Top | SCS2332 |
| 2 | Eyelids Down | SCS2332 |
| 3 | Mouth | SCS2332 |
| 4 | Right Ear | SCS2332 |
| 5 | Left Ear | SCS2332 |
| 6 | Rotate Head Left/Right | STS3215 |
| 7 | Neck Tilt Right | STS3215 |
| 8 | Neck Tilt Left | STS3215 |
| 9 | Right Arm | STS3215 |
| 10 | Forearm right | SCS2332 |
| 11 | Left Arm | STS3215 |
| 12 | Forearm left | SCS2332 |
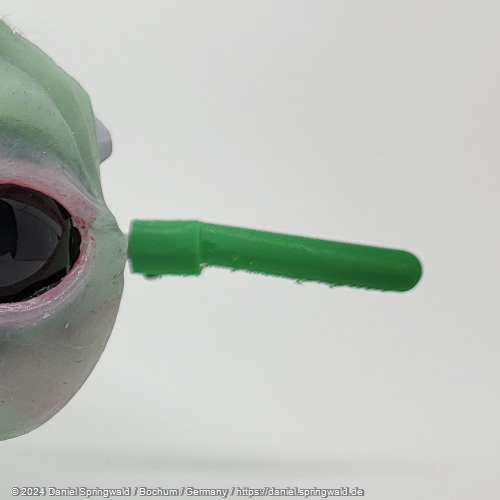
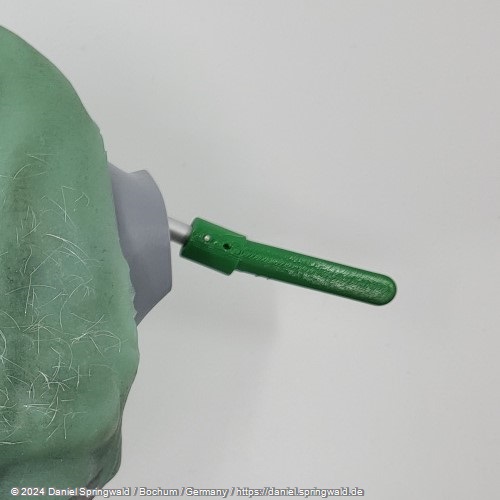
Alignment and calibration of servos
In order for the servos to be controlled correctly for the various movements, they must first be aligned and calibrated. The SCS2332 servos have a value range of 0-1024, the STS3215 servos from 0-4096. The center of the movement is therefore at 512 or 2048 and therefore optimally represents the default position of the servo. The max and min positions shown in the figures are not the values for 0 and 1024 or 0 and 4096, but the values that make sense for the movements of the Grogu. They have to be determined by hand and inserted into the project of the Animatronic Workbench.
Neck Tilt
| Max | Min | Default |
|---|---|---|
 |
 |
 |
("Min" means as low as possible without touching the ESP32)
Arms
| Max | Min | Default |
|---|---|---|
 |
 |
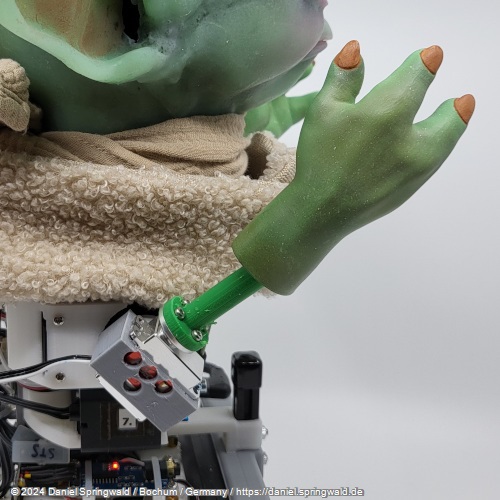 |
Hands
| Max | Min | Default |
|---|---|---|
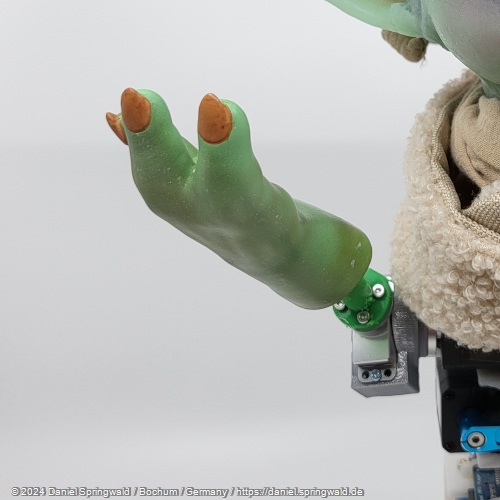 |
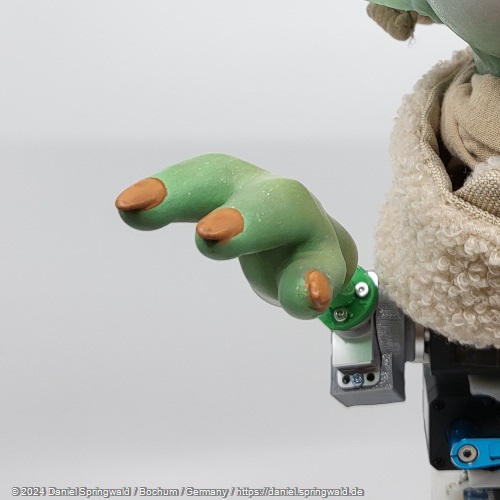 |
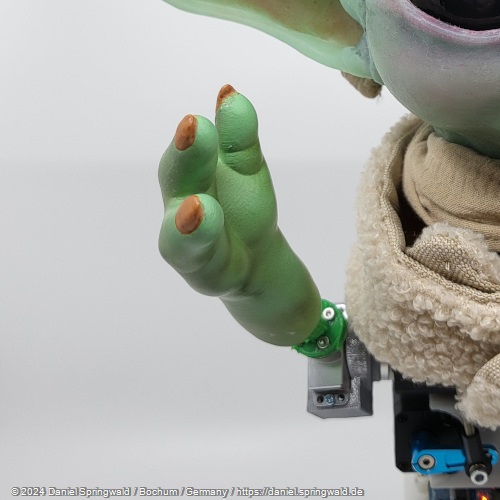 |
Eyelids
| Max | Min | Default |
|---|---|---|
 |
 |
 |
Mouth
| Max | Min | Default |
|---|---|---|
 |
|
|
Ears
Alignment of the ears during assembly:
| From the front | from above | from below |
|---|---|---|
 |
 |
 |