 Daniel
 deutsche Version anzeigen
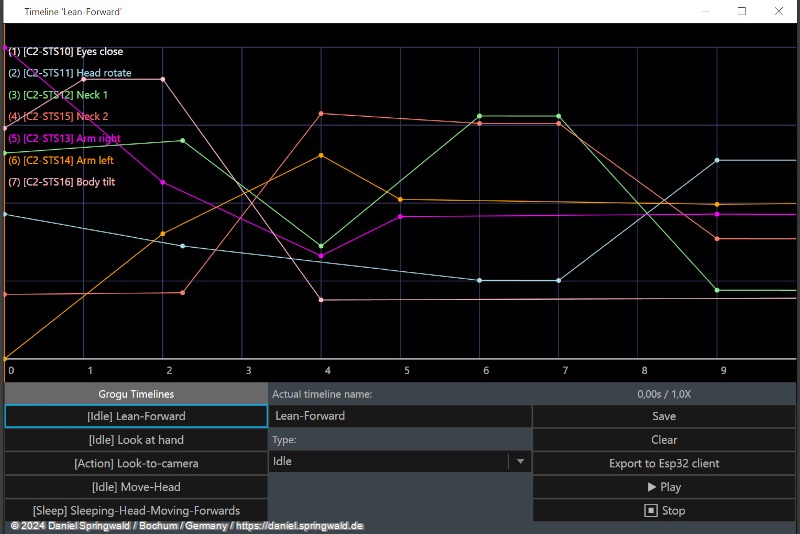
How to install the Animatronic Workbench Studio
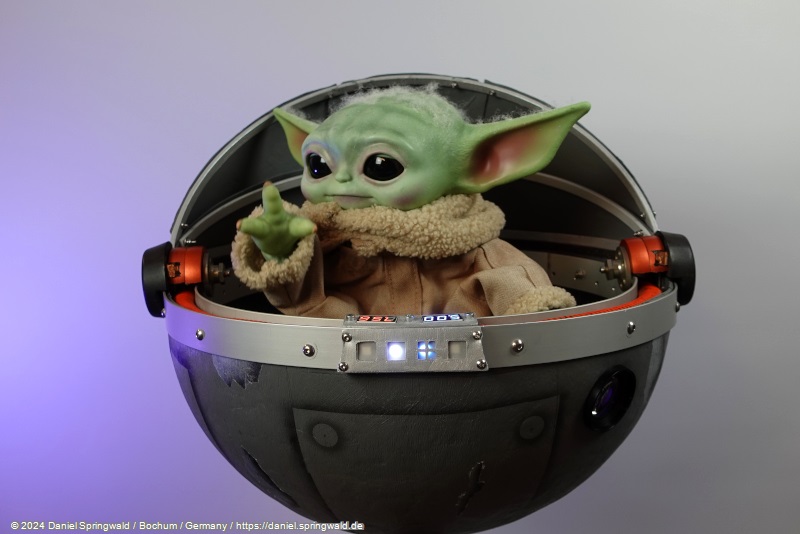
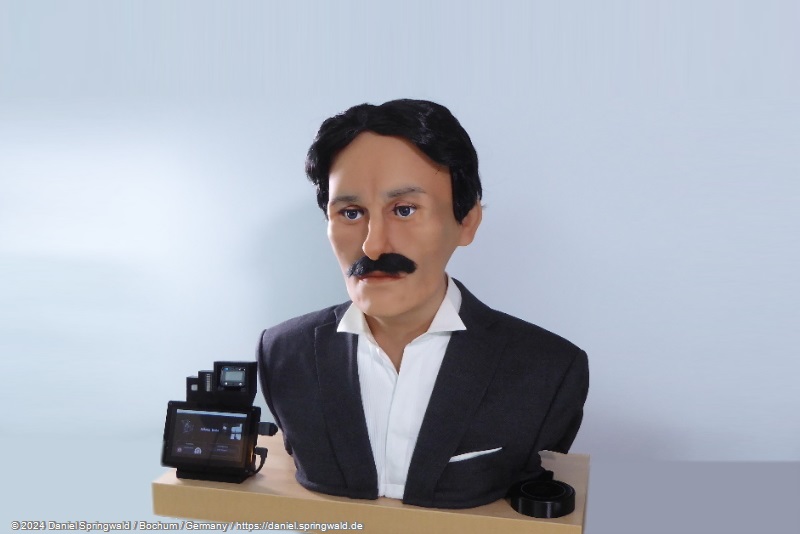
Animatronic Workbench is an open source solution for controlling animatronic figures. This means that movements no longer have to be laboriously programmed, but can be easily created with a graphical editor.
Preconditions
Animatronic Workbench Studio runs on dotnet core and thus basically on Windows, Linux and MacOS. However, as far as I know, the routines for controlling the COM port and the midi controllers are not yet implemented for Linux and MacOS. The same applies to the representation via WPF, for which there are probably ways to port WPF under Linux.
Installation
- Install dotnet core for your operating system.
- Download the latest version of Animatronic Workbench to a directory on your computer.
- If you are using the ZIP version, unzip the ZIP afterwards.
- Open a Windows input and change to the directory ** src\desktop\AwbStudio\ **
- Enter the command dotnet run
Projects
When you start Animatronic Workbench Studio for the first time, you have to create a new project. A project is always a directory where all the files for an animatronic character are stored. When you open a project, all files in that directory are loaded and ready to be edited.
Files
A project consists of the following files:
AwbProject.json project file
The project file contains all the information about the project, such as the description, settings and names of the individual servos. It is saved in JSON format and can be edited with any text editor.
Serial servos of type "STS" are defined in the file as follows:
  "StsServos": [
    {
      "Id": "Eyes",
      "ClientId": 2,
      "Channel": 10,
      "Name": "Eyes close",
      "MinValue": 1790,
      "MaxValue": 2100,
      "DefaultValue": 1790,
	  "Accelleration": 100,
	  "Speed": 1500
    },
    {
      "Id": "HeadRot",
      "ClientId": 2,
      "Channel": 11,
      "Name": "Head rotate",
      "MinValue": 870,
      "MaxValue": 3000,
      "DefaultValue": 1859
    },
    ...
The individual attributes have the following meanings:
| Attribute | Meaning |
|---|---|
| id | Technical identifier of this servo. Must be unique in the project. |
| ClientId | If more than one microcontroller is used to control the hardware, the numerical ID of the controller |
| Channel | The number of the servo on the STS bus. Can range from 1 to 255. |
| Name | The display name of the servo in the timeline editor. |
| MinValue | The minimum position value that this servo should take for the animatronic figure of this project. |
| MaxValue | The maximum position value that this servo should occupy for the animatronic figure of this project. |
| DefaultValue | The starting or resting position of this servo |
Animation files
Files in the .awbtl format contain the animations for the animatronic character. A file corresponds to a timeline, which can consist of several keyframes. The awbtl file is saved in JSON format, so it could be edited with a text editor. In contrast to the project file, however, this is not intended for .awbtl files: Instead, they are edited in the timeline editor and loaded and written directly by the AWB studio. However, you can delete or rename the files in the project directory.