 Daniel
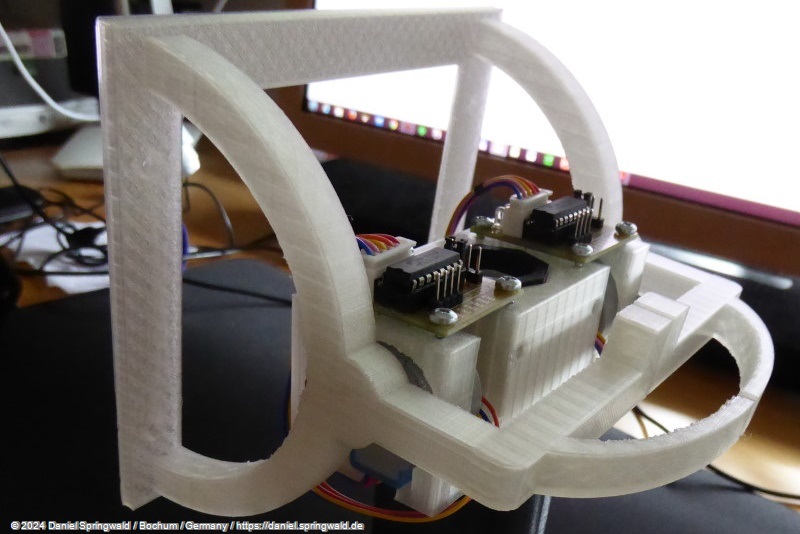
(see all parts of "building a home robot")
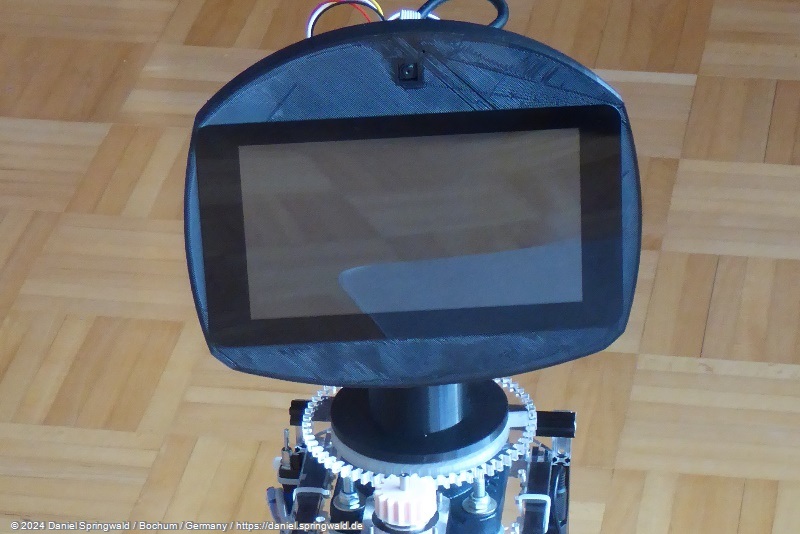
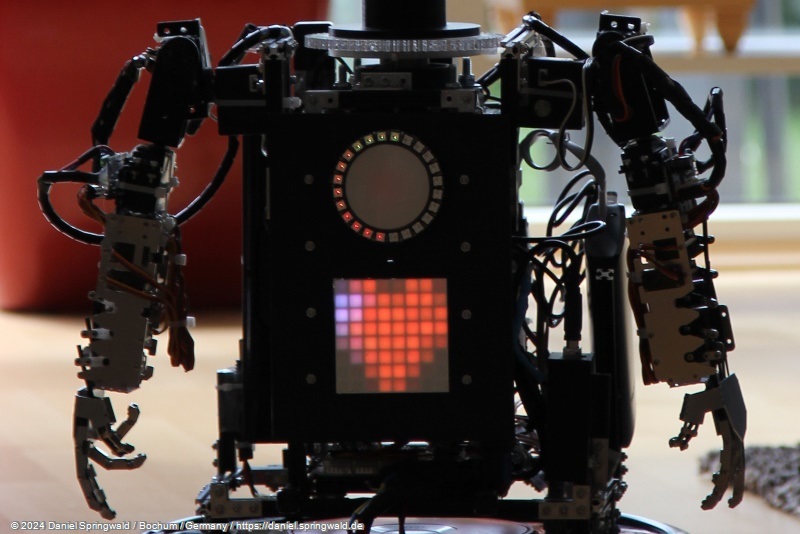
Because the monitor and raspberry pi are placed in the front of the head most of weight is there. So the motors for up/down movement have to be powerful enough to handle this.
I decided to use two stepper motors with built in gearboxes. They also are the axis for the head movement. I mounted them back to back into a 3d printed box ,so they are moving in contrariwise directions.


Putting together neck and front head:


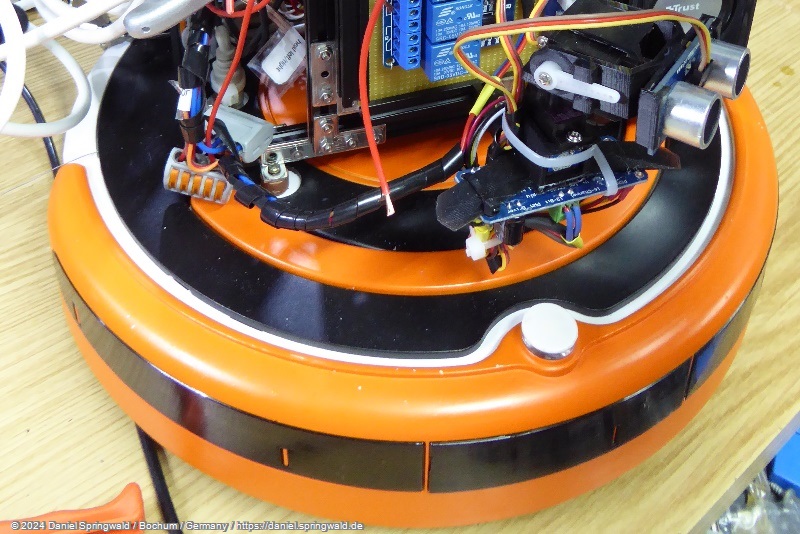
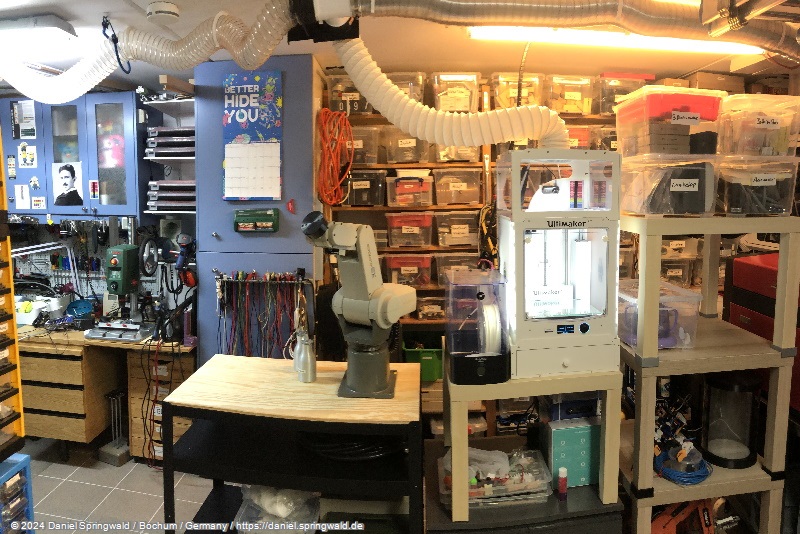
Assembling including cables, Raspberry Pi and electronics:

The two stepper motors have much power - but still not enough to lift the head. To fix this problem I placed a counterbalance made from lead in the back of the head.
The first test with provisional counterbalance:
 After some hours of testing another problem occurred. The mechanic connection between the two motors and the 3d printed part was very small.
Only 4mm PLA to connect
to the whole head wight and movement:

And the PLA material was not strong enough to handle this for a long time – so the freedom of movement increased.
To solve this I used two small parts of aluminum with holes matching to the axis of both stepper motors.