 Daniel
(see all parts of "building a home robot")
My first approach to move the neck and head was to use servos. Because the rotation has to move a large weight to rotate the head left/right, I bought a servo driven ball-bearing base.
The first try was a servo driven ball-bearing base.

Mechanical everything worked fine – the base had : enough power solve the movement. But it was very loud. It made the typical plastic server “scrieeeee” sound and the base amplified the sound by acoustic resonance. It all sounded like a big cheap RC toy from the 80s :-/ Nothing you want to hear from a futuristic robot with a cute and modern body design.
The next idea was to create laser cut gears on my own and mount them on a big ball-bearing:

As engine I wanted to use a stepper motor
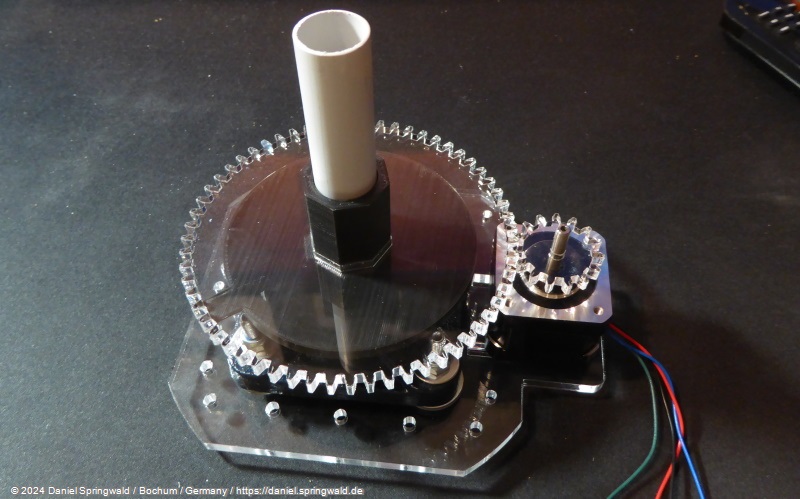 Everything seems fine – even a first manual test moving the motor and gears by hand.
But the first electronic driven test was a little bit annoying: It was much more quiet and strong than the RC servo but still loud.
Everything seems fine – even a first manual test moving the motor and gears by hand.
But the first electronic driven test was a little bit annoying: It was much more quiet and strong than the RC servo but still loud.
The next idea to solve this was to use a fan belt to connect the gears to prevent the plastic-on-plastic sound. But for this the complete construction would have to be changed.
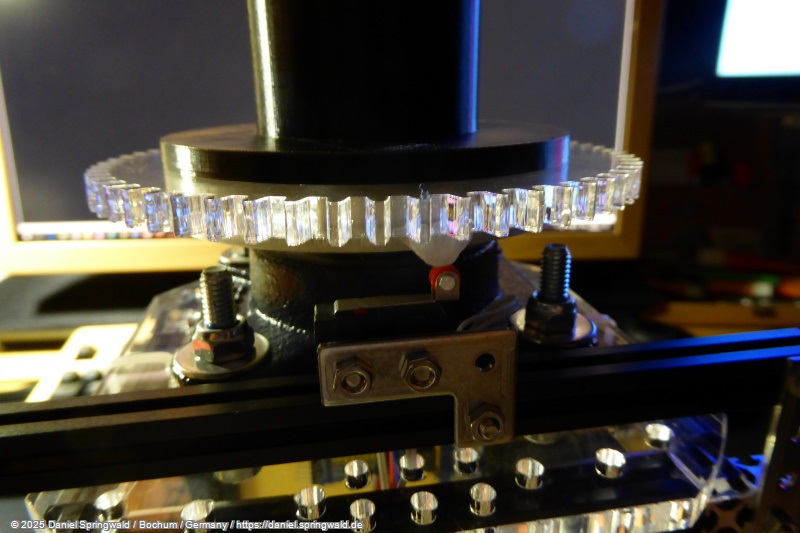
So I tried another idea: Creating the motor gear with 3d printing from rubber instead of laser cut acryl:
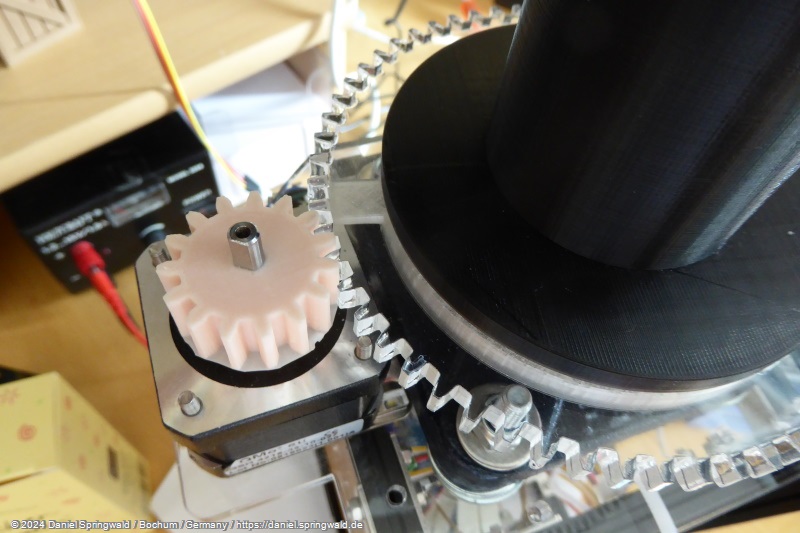
This worked very fine and now the gears are working very silent.
The endstop to home the rotation: