 Daniel
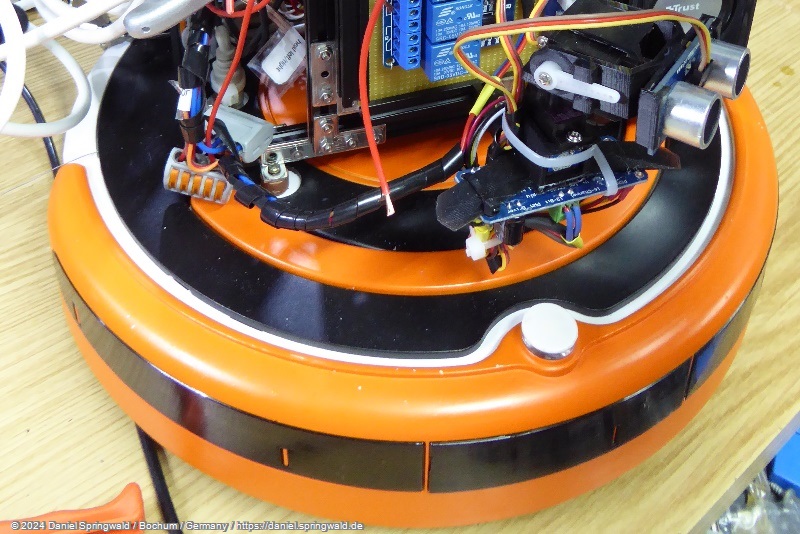
(see all parts of "building a home robot")
If you want to build an autonomous robot there are at least two things to solve: Battery power and automatic charging.
Nobody wants to build a robot which needs to be charged by hand.
But building and programming a chassis that can find its docking station and charge automatic is complex and/or expensive.
So it is great that there is an existing consumer product you can use: The roomba vacuum robot from iRobot. You can get a used one for round about 150 €. If its vacuum or brush unit is broken it may cost less - and you don’t need these units.
The Roomba also supports an official and well documented serial port to control it and read its sensors.
So for my robot project I used an old iRobot Roomba.It was originally white color – but after some years of usage and sunlight some sort of ugly yellow instead.

To refurbish it I sanded it, painted it in my favorite color and bought a new battery.


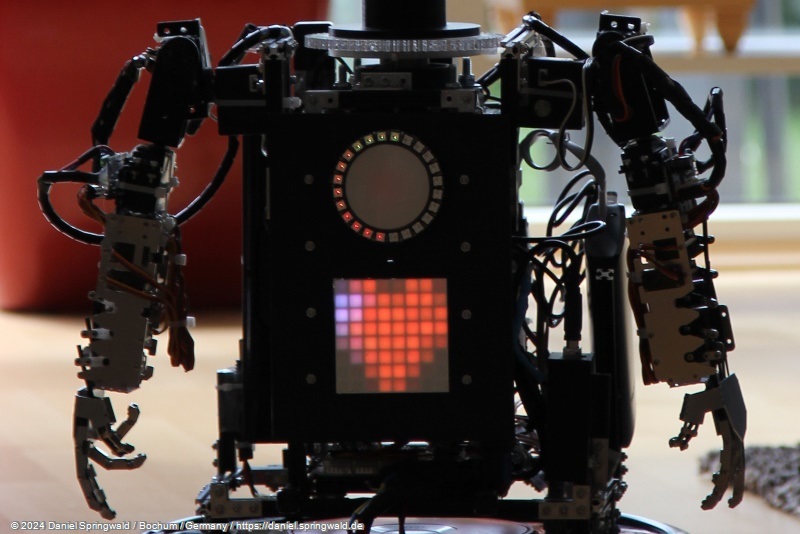
In my case I wanted to use MakerBeans to build the main body of the home robot. So I mounted a small base of MakerBeans to the iRobot chassis.

To find Roombas serial port you have to remove the robots cover. Next to the serial port there are some screws you can use to attach your own robot parts to the chassis: