 Daniel
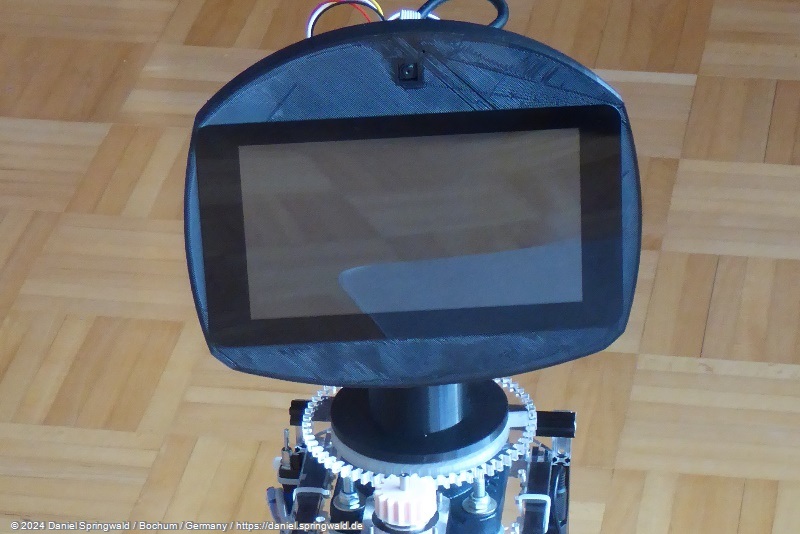
(see all parts of "building a home robot")
Since I was a child and saw the tomy omnibot I was fascinated about robot companions. In the following years I took some tries to get or build one – for example the Sony Aibo in 2001 or my Cobra Robot.
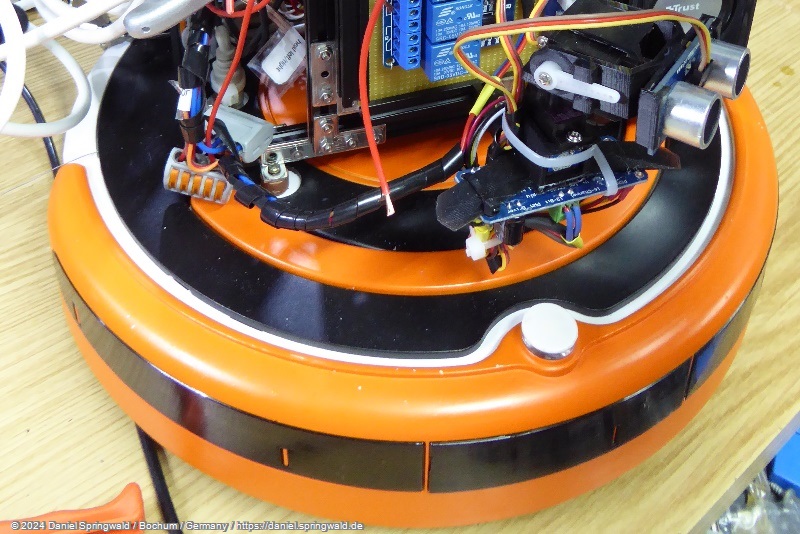
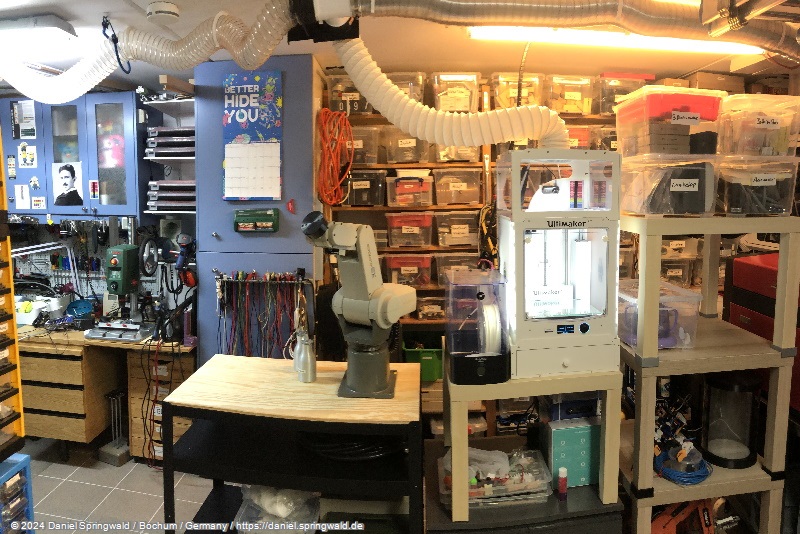
Some weeks ago I started my first serious project of a self driving, self charging home robot - including things like face detection and voice output.
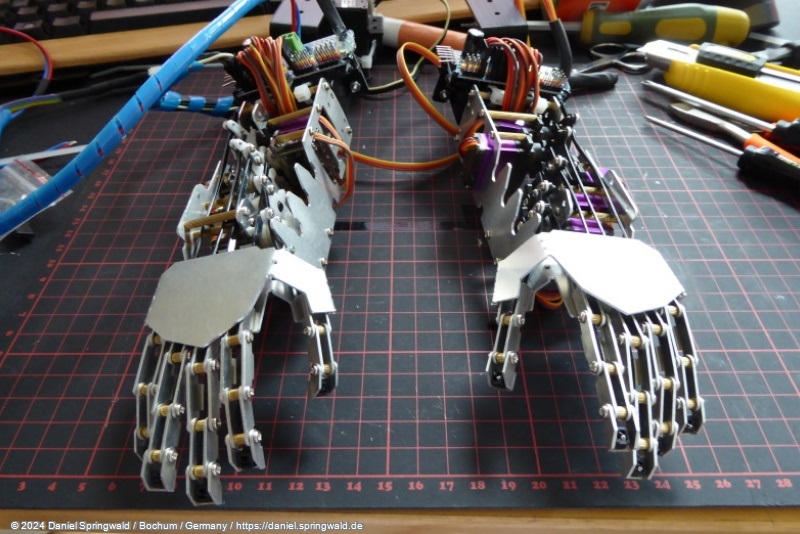
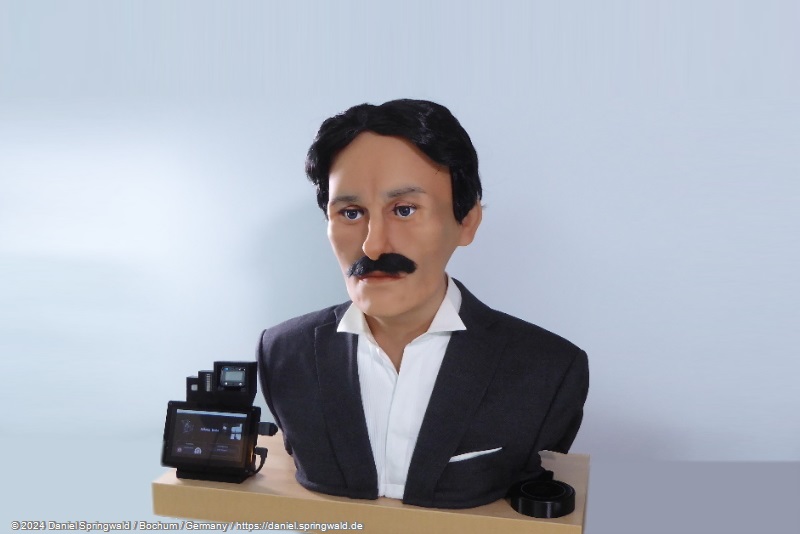
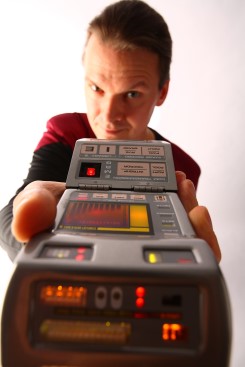
My girlfriend was not sure if it would be a little bit scary to live together with a home robot. So I decided to create a first prank design for the robot head especially for her ;-)
 (A scary prank design created from old animatronics parts)
The real head will be much more cute and abstract, using a small monitor instead of physical eyeballs.
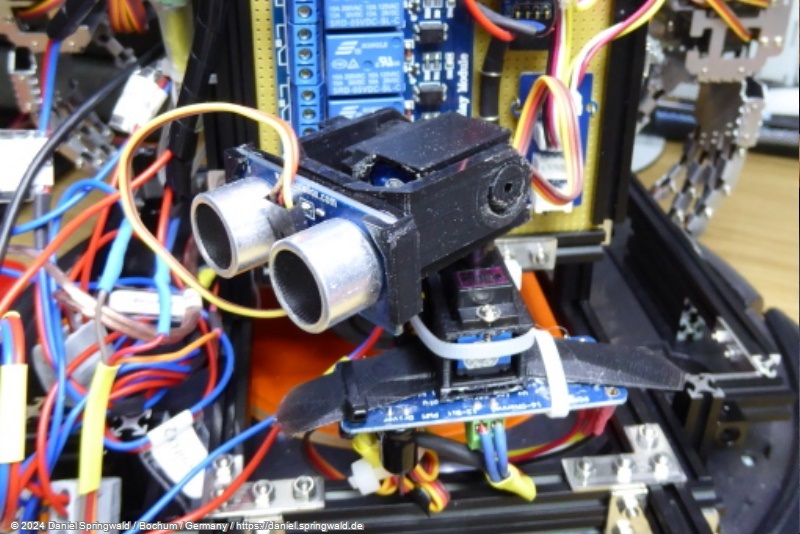
As the robot “brain” I choose a Raspberry PI 3 because it is small, fast and with low power consumption. Other reasons were: cheap and native camera, hardware connections via the PIO port and the available official touchscreen monitor.

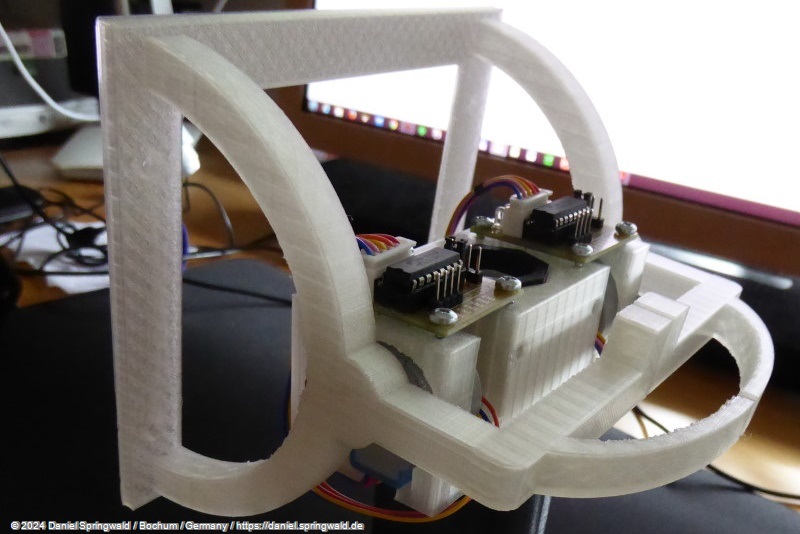
To create most of the body parts I want to use my 3D printer.
In the past I often used 3d editor programs like Autodesk 3D Studio or Cinema 4D – but never real CAD programs. After some research for a low cost but useful CAD program I found OpenSCAD.
This free open source tool and its unusual approach to create objects by writing program code suits perfect to my needs.
Only 3 hours later I had finished my first CAD model of a head prototype and started the 3d printer. (I plan to upload all the STL files to thingiverse.com to share them with other makers who want to built their own home robots)

The first prototype of the robot front head:

The following 4 improved prototypes:

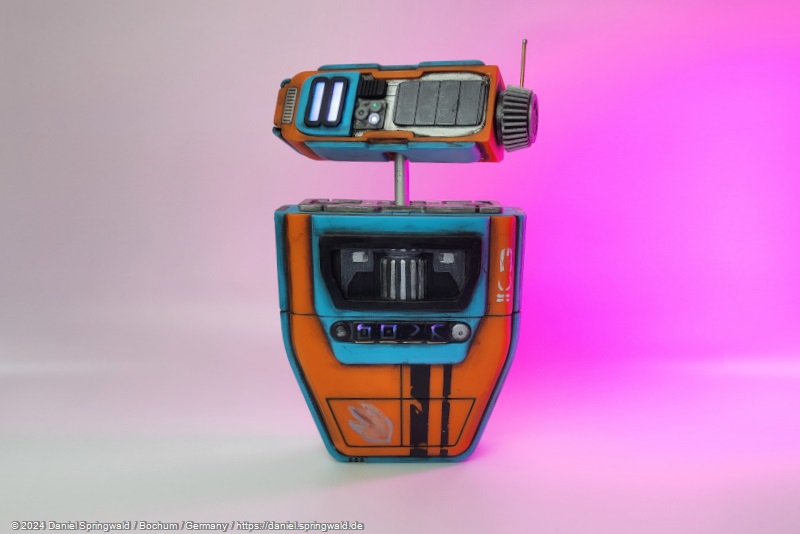
An early prototype showing the complete head shape:

The final front part without raspberry pi...

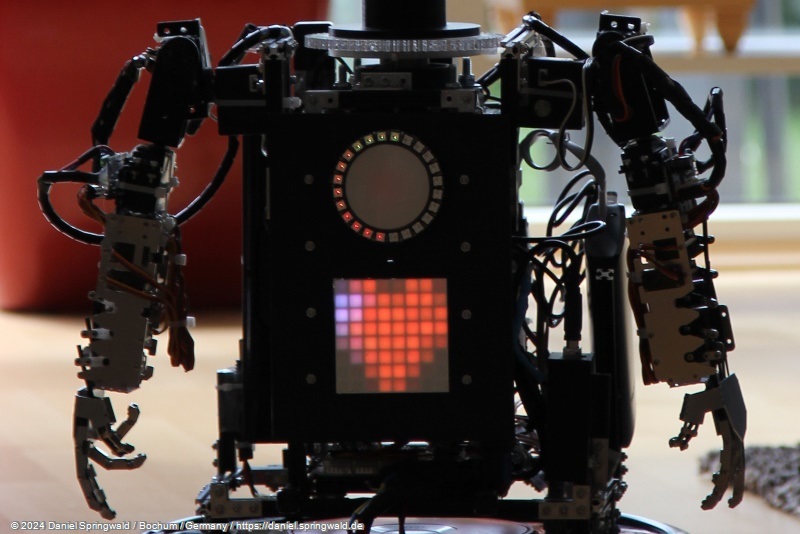
...and with raspberry pi and the touchscreen monitor:

The next step will be the neck design and the motors for moving the head and the neck.